
How to Clear Cache in Windows 10 & 11 (Step-by-Step Guide): Clearing the cache on your Windows computer is one of the easiest ways to boost performance, free up space, and fix system issues. Over time, Windows stores temporary files, logs, and cached data that can slow your system down. In this guide, we will show you how to clear the cache in Windows 10 & 11 step by step.
What Is Cache in Windows?
Cache refers to temporary files that Windows and apps create to speed up processes. This includes:
- Browser cache
- System temporary files
- Windows update cache
- Log files
- Thumbnail cache
While cache helps apps and Windows run faster, too much cached data can slow down your PC or cause errors.
Why You Should Clear Cache
- Improve system performance
- Free up storage space
- Fix app or system errors
- Remove corrupted files
- Speed up Windows startup
Read More: How to Secure a Google Account with 2-Step Verification (Complete Guide)
How to Clear Cache in Windows 10 & 11
Here are 5 easy methods to clear the cache on your PC:
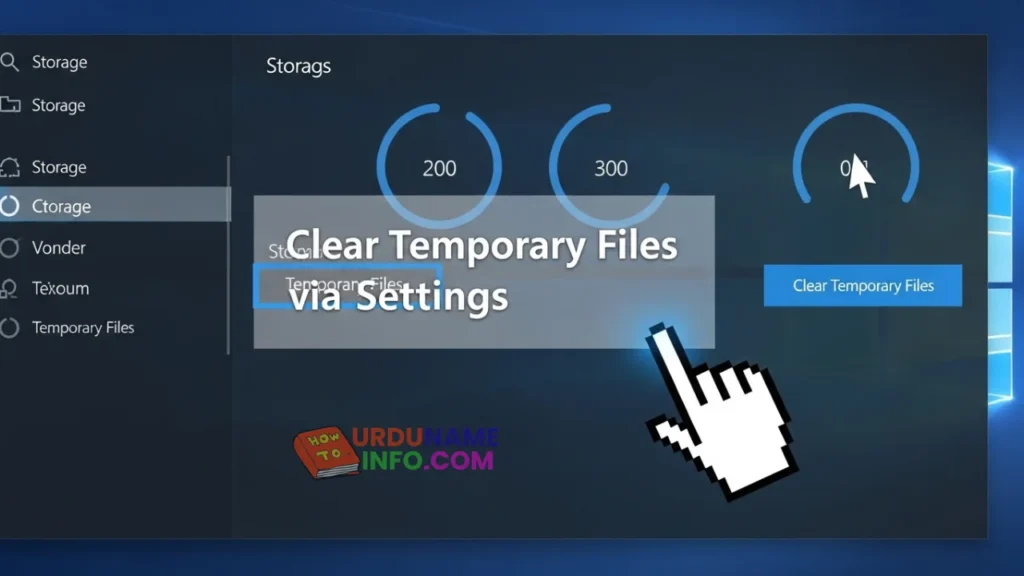
Method 1: Clear Temporary Files via Settings
- Press Windows + I to open Settings
- Go to System → Storage
- Click Temporary files
- Select files you want to delete:
- Temporary Windows files
- Recycle Bin
- Thumbnails
- Click Remove files
Tip: Do not delete important files accidentally. Only choose temporary files.
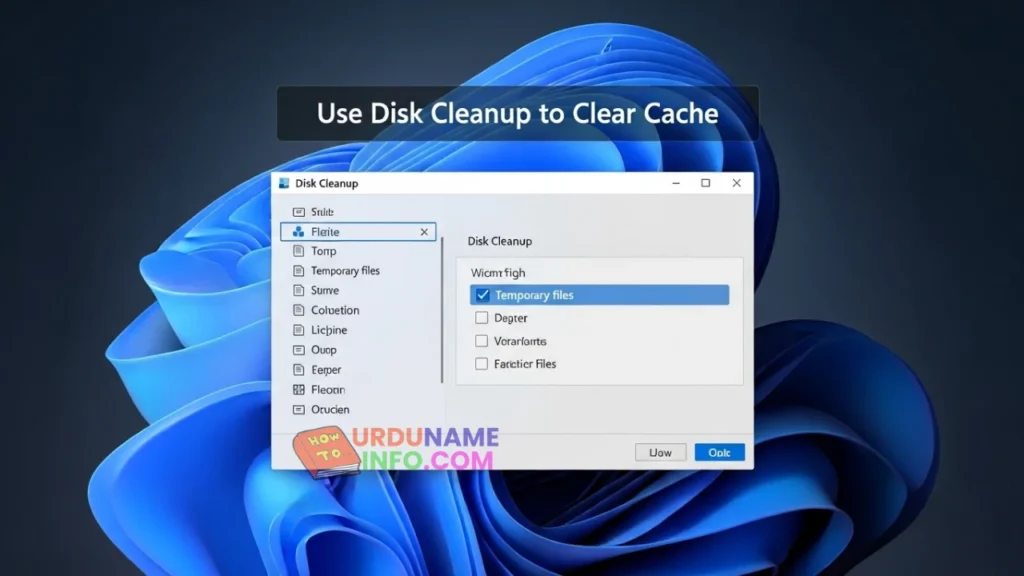
Method 2: Clear Cache Using Disk Cleanup
- Press Windows + S, type Disk Cleanup, and open it
- Select your system drive (usually C:)
- Check options like:
- Temporary files
- Thumbnails
- Delivery Optimization Files
- Click OK → Delete Files
Note: This clears system and app caches safely.
Method 3: Clear Browser Cache
For Edge / Chrome / Firefox:
- Open the browser
- Press Ctrl + Shift + Delete
- Select Cached images and files
- Click Clear Data / Clear Now

Tip: Clearing the browser cache helps fix loading issues on websites.
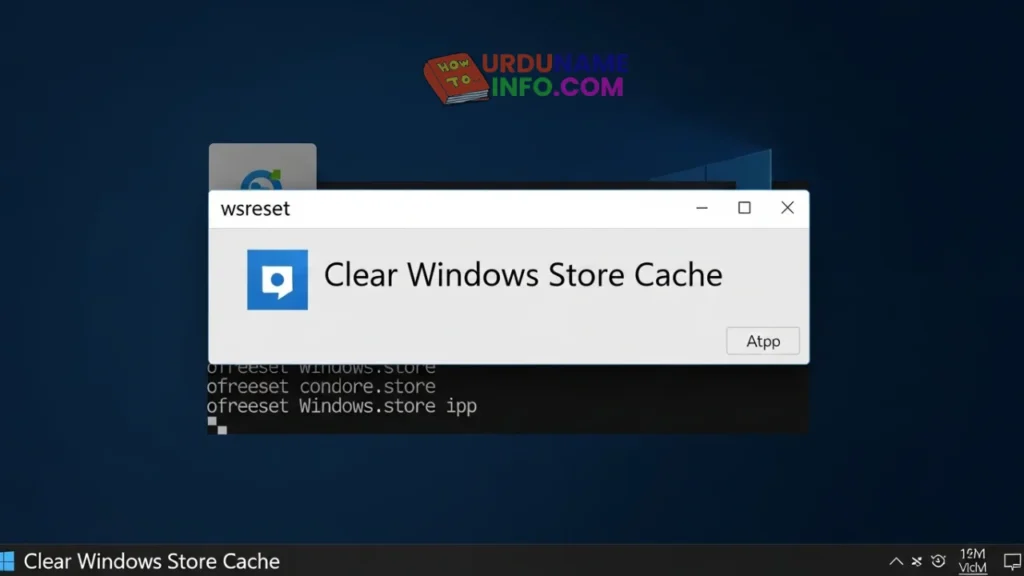
Method 4: Clear Windows Store Cache
- Press Windows + R
- Type wsreset.exe and press Enter
- A command prompt window will open and reset the Microsoft Store cache
- The store will open automatically after a few seconds
Method 5: Clear DNS Cache
- Press Windows + R, type cmd, and press Enter
- In Command Prompt, type:
ipconfig /flushdns - Press Enter
- DNS cache is now cleared
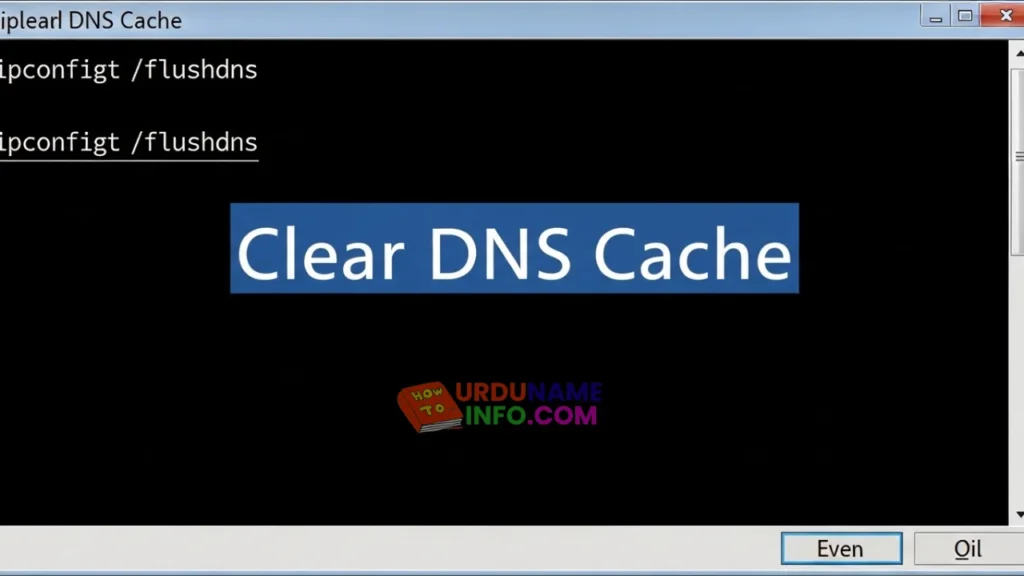
Benefit: Fixes network and connectivity issues caused by cached DNS entries.
Frequently Asked Questions (FAQs)
Q1: How often should I clear the cache in Windows?
A: Every 1–2 months is enough for normal users.
Q2: Will clearing the cache delete my files?
A: No, only temporary and cached files are deleted.
Q3: Does clearing the cache improve PC speed?
A: Yes, it frees up space and can fix lag caused by corrupted cache.
Q4: Can I automate cache clearing in Windows 11?
A: Yes, enable Storage Sense to automatically clean temporary files.
Q5: Is it safe to clear the cache using Disk Cleanup?
A: Yes, it only removes unnecessary temporary files, not personal files.
Conclusion
Clearing the cache in Windows 10 & 11 is simple and helps your PC run more smoothly. Using Settings, Disk Cleanup, Browser cache, Windows Store, and DNS flush, you can remove unwanted files safely. Follow these steps regularly to keep your Windows fast and healthy.
My name is Mujahid Shah. I provide helpful information about mobile phones, laptops, and general technology topics. I write simple and easy guides to help people solve common problems and understand tech in a better way.